First simple game – Menus

I wanted to set up some menus for this game so I went and came across this youtube tutorial https://www.youtube.com/watch?v=zc8ac_qUXQY

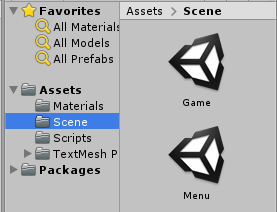
I’ve made a new scene and renamed my old scene to Menu and Game respectively

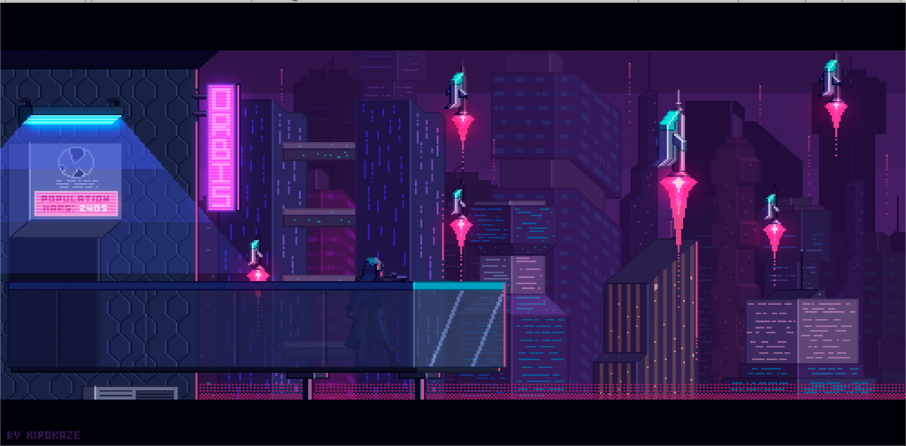
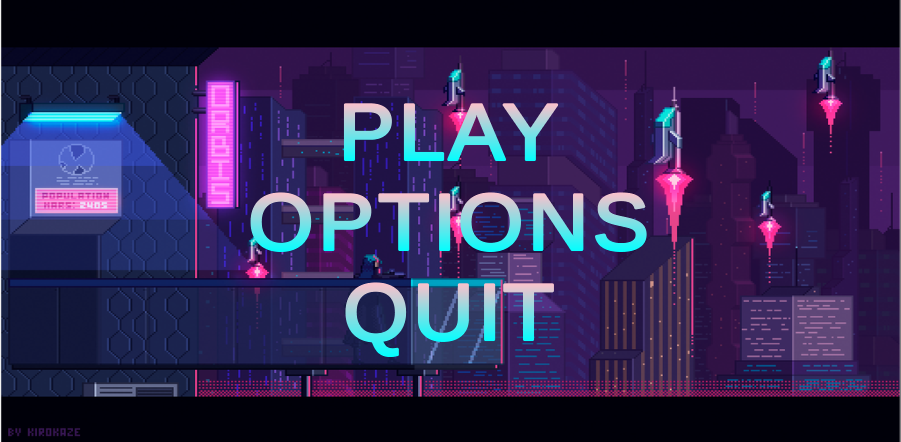
I’ve also downloaded a placeholder background image for our menu (our game theme is going to be cyberpunk)

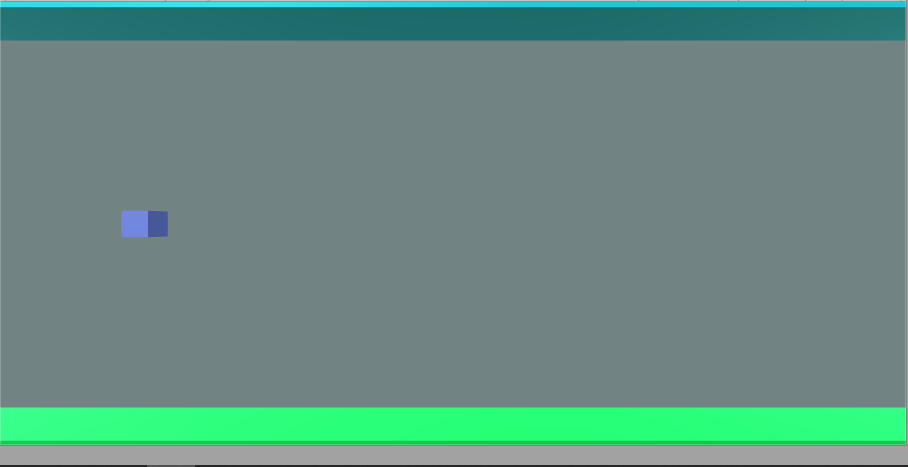
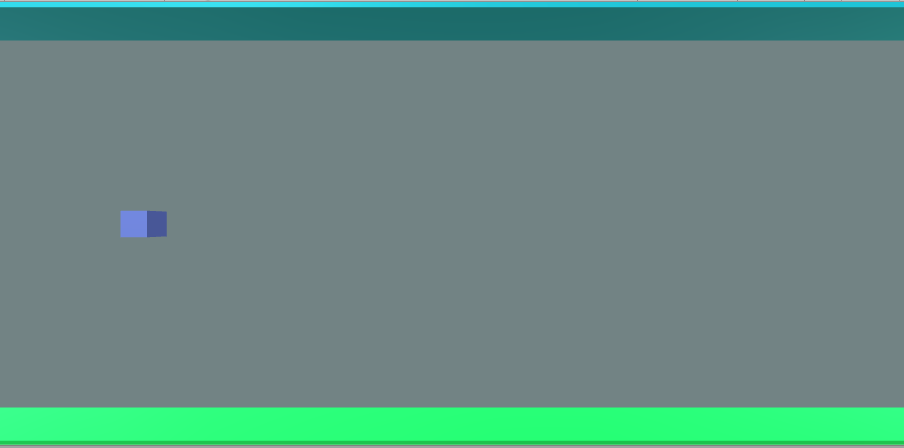
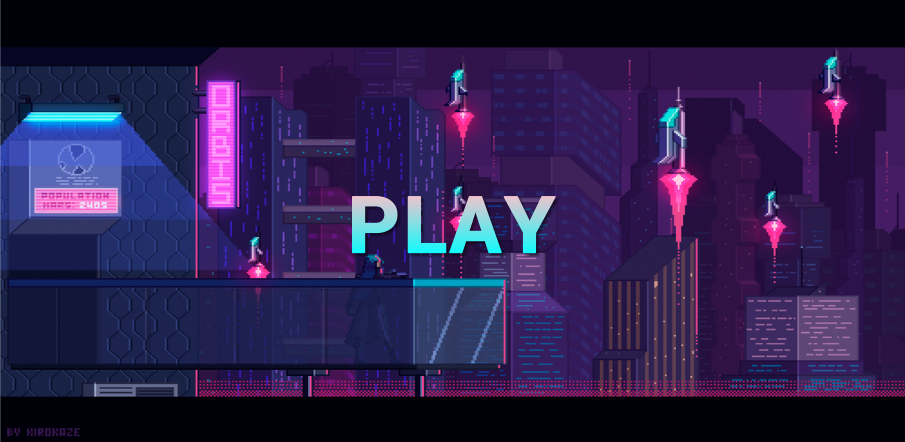
I’ve made another placeholder play button using the colours of pink and cyan to fit with the current theme.

I was going to test the play button however I’ve received a compiler error so I googled a way to fix it and I was advised to delete the textmeshpro folder as it was already in unity. Now my play button becomes highlighted when pressed on my phone.

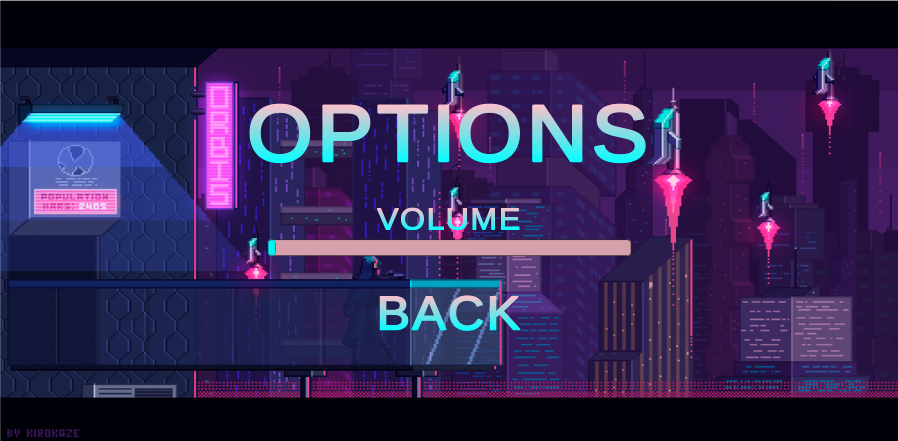
I’ve continued to follow the tutorial and now have a general main menu as well as an options menu

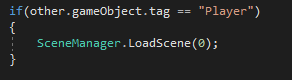
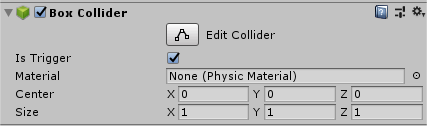
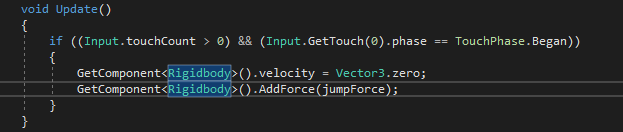
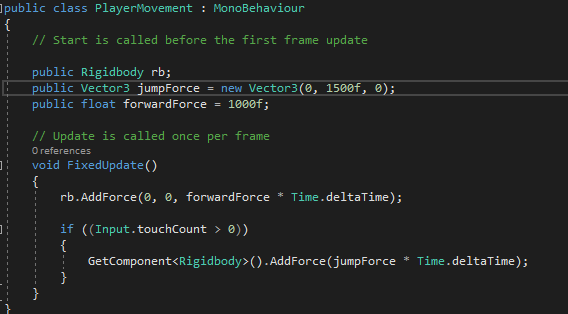
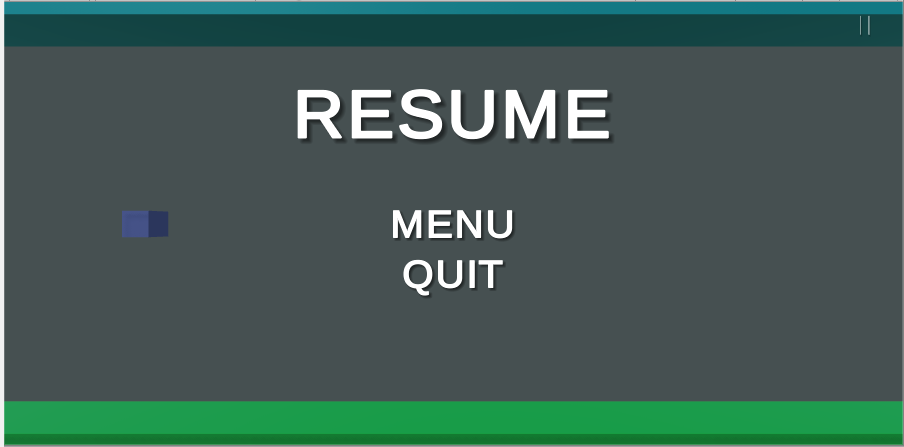
After following the video all the menu buttons work (the volume setting doesn’t do anything yet) and when you collide into a wall in the game it brings you back to the menu however. I wanted the game to restart on collision and I wanted a pause menu in-game so I followed a combination of these two tutorials (https://www.youtube.com/watch?v=MjhH4M1B8HA, https://www.youtube.com/watch?v=JivuXdrIHK0) with my current knowledge from this project and came up with this in the end.

Pause button on the top right (Placeholder)
Pause menu in-game. All the buttons work.

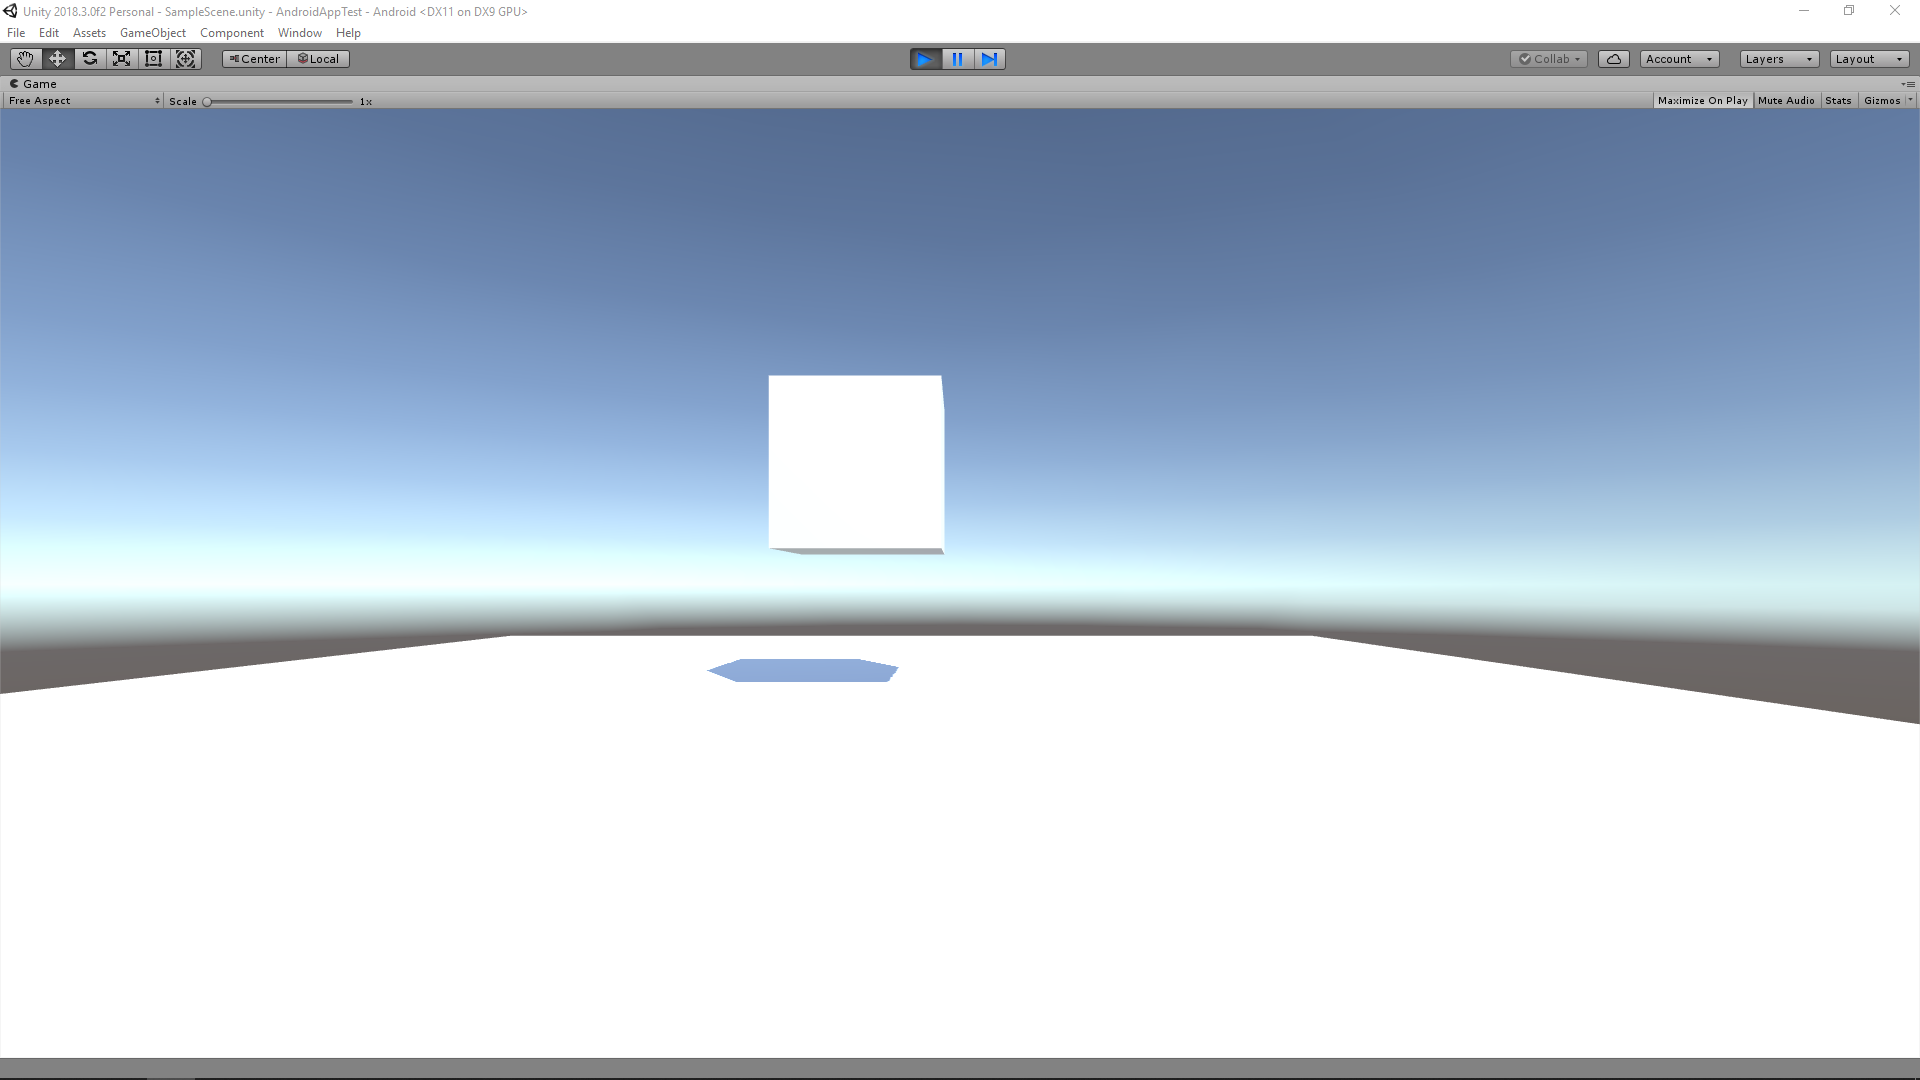
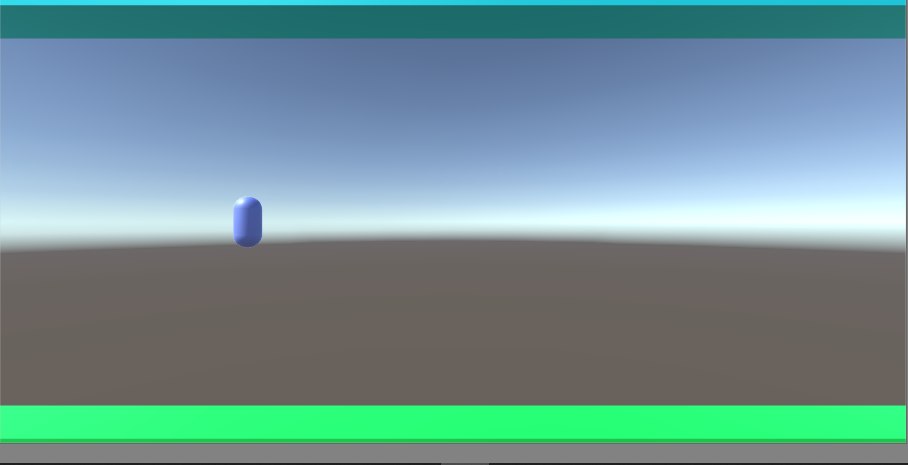
I’ve built this app and downloaded it to my phone to see how it works just on the phone. It surprisingly runs a lot smoother however all the text has shrunk.

First simple game – Reset on collision/TouchInput

So I now wanted to set up a reset level on collision so I googled and came across this video (https://www.youtube.com/watch?v=8bIdUzpQ928) and followed it step by step and successfully set up a reset on collision.


I also switched this line to this as it was mentioned being not deprecated.

Now if I hit the ceiling or floor the game will to its original status. I also wanted to achieve touch controls too so I googled and came across this website which helped me https://stackoverflow.com/questions/37117160/how-to-convert-space-bar-key-event-in-unity-into-touch-event-in-android

All I had to change was RigidBody2D into RigidBody and now the cube goes up on touch.

However, after playing around I realised it only went up on initial touch and doesn’t continue going up on hold therefore, I decided to implement it into PlayerMovement and make my own code and I came up with this which worked!

Later on I’ll be changing the values to make the game more smoother as these values are just to make sure the game works.

First simple game – Setup

I’m making a simple game with a friend who will do the modelling. We are going to make it so that you lose if you touch the edges or objects. The controls are going to be that if you hold onto the screen you float up else you’ll float down. Firstly I wanted to connect my phone to Unity so I followed this youtube tutorial. https://www.youtube.com/watch?v=CcsUFGfdO_0

Now this is displayed on my phone

I’m now gonna set up the blocks in order to design my game. I followed this basic tutorial on youtube to get me started and understand Unity more. https://www.youtube.com/watch?v=h2d9Wc3Hhi0 and I ended up with this on my phone.

I wanted the player to be constantly moving to the right so I googled a way to do that and came across this video https://www.youtube.com/watch?v=9ZEu_I-ido4

Since the next episode in the series was character movement I went and watched that in order to make it so that my character will move up when I left click. So far I have made my character move up when I press the “w” key and down if no key presses.

This is the final product for today.

OCR Reader – Connecting phone to Visual Studio

I wanted to connect my phone to Visual Studio so that I can test apps on my phone. I looked up on a guide on how to do that and came across this useful website https://docs.microsoft.com/en-us/xamarin/android/get-started/installation/set-up-device-for-development.

Mid way through the website, my andriod.bat would just close instantly so I had to find a solution. I came across this youtube video https://www.youtube.com/watch?v=TMJ3WxZ9L5c and resorted to downloading Eclipse. I also couldn’t find the android SDK option so I followed this tutorial https://www.youtube.com/watch?v=47yY1uCTU0M

This took me awhile to download all these programs but in the end I got the app to run on my phone meaning I can continue running apps using my phone.

OCR Reader – First time making an app

I came across this youtube video https://www.youtube.com/watch?v=5CgQUbnf1Qk&t=12 s which I thought would be a good start in order to try to understand how to make a simple app.

While following this video, the first problem I had was that my textview and buttons were overlapping. In the comment section there was a solution which was to change the code in activity_main.axml from RelativeLayout to LinearLayout. (This was shown further into the video with an explanation, I also had to add in a line of code (android:orientation=”vertical”)) I later on figured out there was another line I had to change which was at the very end. (Closing out the LinearLayout)

From this video, I also learnt that match_parent tries to match the parents width/height, whereas wrap_context makes the view very compact.

After following the video and attempting to run my program, all I would get is a black screen with nothing happening

However, in the output section there is a warning claiming the “emulation may not work without hardware acceleration!” After doing some googling I came across this website https://docs.microsoft.com/en-us/xamarin/android/get-started/installation/android-emulator/hardware-acceleration?tabs=vswin&pivots=windows#hyper-v which requires me to do numerous things. I first installed Intel HAXM and then went on to enable “Virtualization technology” in bios.

After successfully enabling the option in the bios I reattempted to launch my program and the program actually launched!! It properly increments and decrements.

Next time I will be linking the code to my phone in order to attempt to take photos.